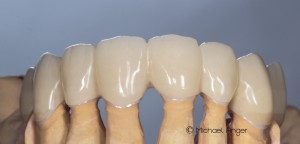
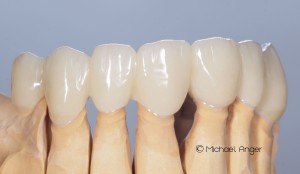
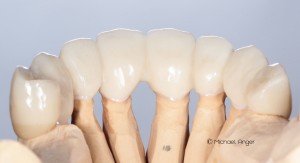
In this case, our colleague Paul Giezendanner (Switzerland) wanted to be „extra-safe“.
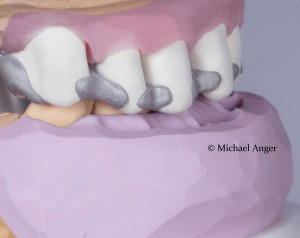
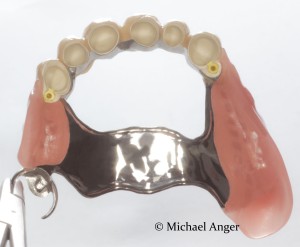
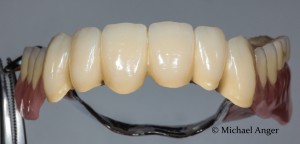
Therefore, it was planned to incorporate additional friction-elements in the secondary telescopes.
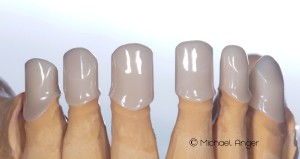
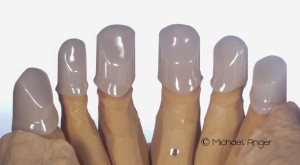
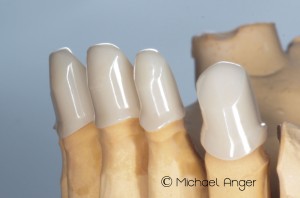
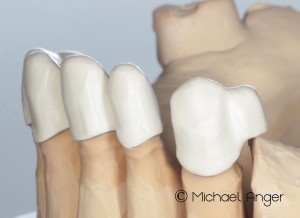
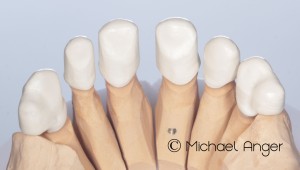
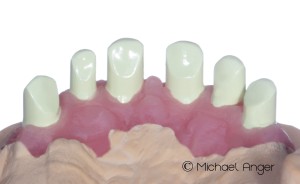
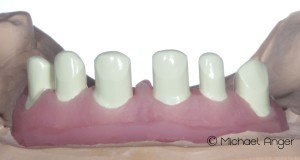
The primary telescopes were milled at a minimum thickness of 0.3 mm. Sharp edges in the occlusal area must be avoided in any case.
Even in the palatal design of the primary telescopes the minimum thickness has been complied with 0.3mm.
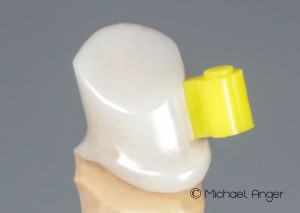
At the canines a stage was conducted higher and created with a flat wall in order to allow the incorporation of the friction elements.
Cause the primary telescopes must be made very thin and delicate in order to achieve an appealing aesthetic can, these telescopes should not be kept with telescopic pliers.
For the production and processing of secondary telescopes plastic stumps from Pattern Resin are made.
These can be fixed, if necessary with a small drop of superglue to the telescopes. To detach the plastic cone from the inner telescope, a hot-air pen can be used.
By heating the adhesive compound dissolves and the zirconium crown can be solved from the stump.
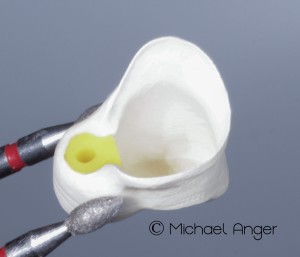
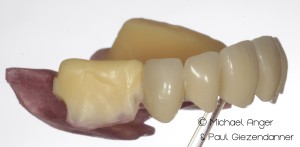
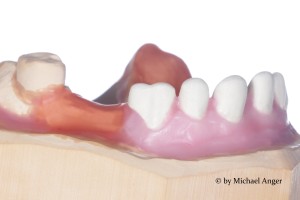
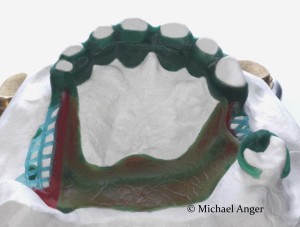
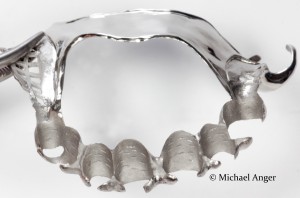
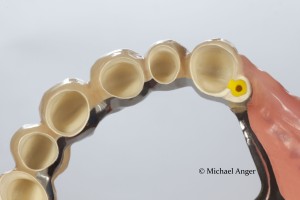
Detailed view of the placeholder for the friction parts in the outer telescope.
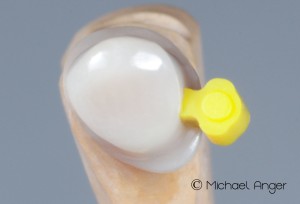
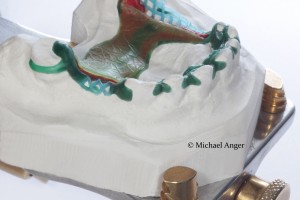
Detailed view of the friction element from the lingual. To use the function of this friction element fully, these surfaces must completely abut each other.
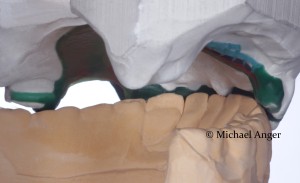
Detailed view of the friction from the occlusal. A screw from the basal side of this element can be subsequently activated selectively.
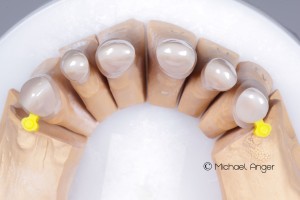
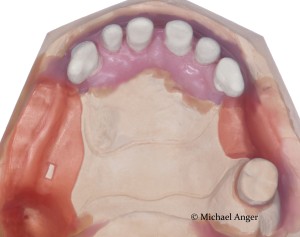
In this picture we see the primary telescopes with SiTec. These were glued for the photo to illustrate the mode of operation.
Even before the try in of the primary parts, the secondary telescopes are created on the zirkonium-telescopes to cement the primarys immediately.
Secondary telescopes ready for pick-up impression. The high demands on the precise fit make it imperative to customize this cap on the original primary parts and to make the pic-up-impression after their cementing .
My first telescoping Working with secondary parts made of PEEK I made good 3 years ago and so far none of these patients a loss of friction occurred.
Due to the additional insertion of the screw activatable friction, which remain inactive in the first inclusion and act as a „sleeper„, however, the maintenance can be subsequently increased.
Thus, any loss of friction, prevented.
Temporary bridge framework from multicolor PMMA front view. By using multicolor Blanks veneering can be saved and yet an aesthetic result can be achieved.
Because the Zirkonium-telescopes will be cemented during the first try-in, a provisional arrangement is needed that dent patient care through to completion.
View details of PMMA temporary palatal. These milled temporary restorations are much more stable, as polymerized structures.
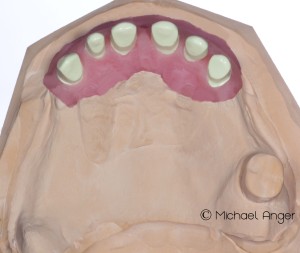
These very smooth stumps are made of epoxy resin to simulate the surfaces of the primary telescopes. The gingival mask represents the gingival situation.
Because the gingival mask sometimes even extends beyond the primary parts, it must be reduced for further processing to prevent no disturb the seat of secondary telescopes and to permit the production of the model casting.
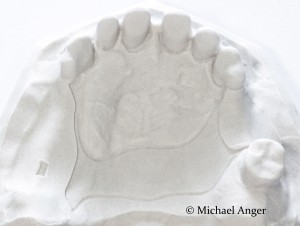
In the area of the palate can be seen the incorporation of the previous prosthesis. Cause the patient has become accustomed over many years on this form, we will maintain this well.
For the aesthetic try-in a template of light-curing tray material and plastic teeth or facets was prepared by Paul Giezendanner.
With this template, both the jaw relation as well as the desired aesthetic can be checked and transferred.
Such a hard mask there in completions any inaccuracies due to incorrect transfer of the jaw relationship and troublesome grinding work are excluded. These are benefits for the patient, the dentist and the laboratory.
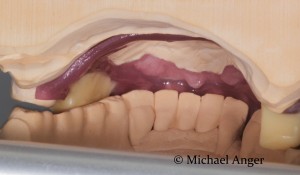
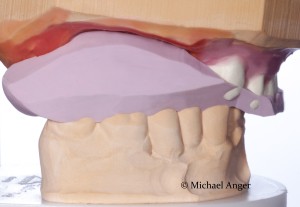
In view of the palatal the difficulty of the deep bite is only fully visible. The lower incisors bite even when the bite is blocked almost to the incisive papilla. The support at 27 to make contact to the mandible
The working model is prepared for the doubling. The edges of the metal-frame were already slightly etched to permit a gentle storage. This avoids that leftovers can press under the partial denture.
The saddles classic hollowed and the PEEK caps are basal fixed with wax. The surface of the implant mask is coated with a thin layer of wax, so that does not connect with the Doublicate mass. All undercuts are blocked out as usual. Interdental spaces between the PEEK caps were pulled higher, since no steel version is desired.
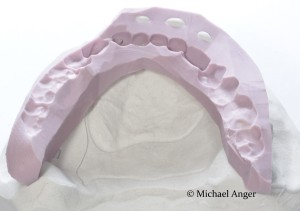
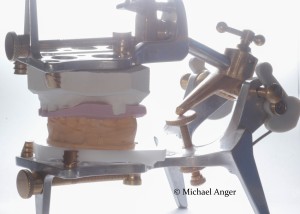
The recovered from duplicating investment model. On this model the model casting, including the bite blocks is modeled for the lower jaw. For this must be an exact transfer of the jaw relationship for modeling.
For this transfer, a silicone key will be made in the articulator with the blocked out master model.
This silicone key is cut cleanly and can be transferred to the investment model now.
Now, both the investment model as well as the opposing jaw for modeling are in the correct position screwed into a Galetti articulator and the bite blocks can be modeled clean.
Modelling of the model casting on the clamped investment model. Using the Galetti articulator the bite blocks can be accurately modeled.
The PEEK caps be taken physically with wings of approximally ago. This leaves plenty of room for the veneers and we get enough retention for bonding.
Contouring met and tears in the Galetti articulator seen from the palatal. The jaw relationship was again lowered maximum.
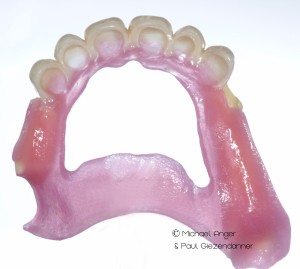
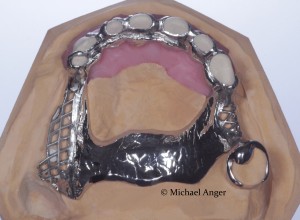
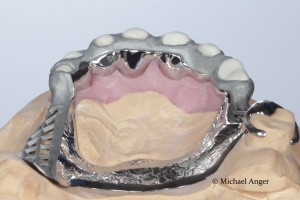
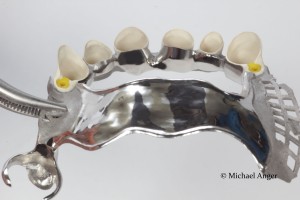
Model casting after finishing basal-frontal. In the holders of secondary telescopes additional notches have been incorporated for retention.
Model casting before bonding on the model. The secondary telescopes are safe and free of gaps included.
Here the bonded secondary structure on the model. The shares to be issued and the retentions were sandblasted beforehand and splices conditioned according to our instructions.
The bonded structure of basal. The overhanging PEEK edges that were modeled to deep beneath the gingiva have been revised along with the model casting.
About one fixed to the lower jaw silicone key with the bite-impressions of the situation model the space will be controlled.
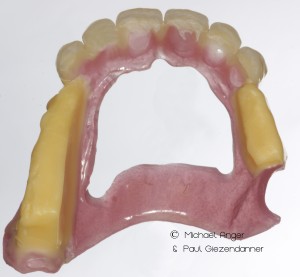
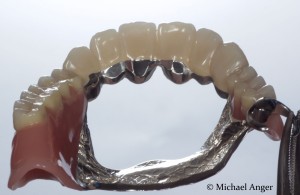
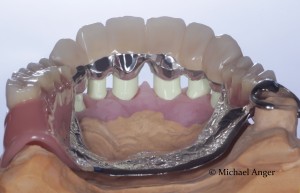
Completion of the partial denture from basal.
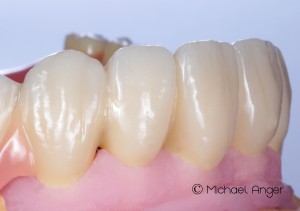
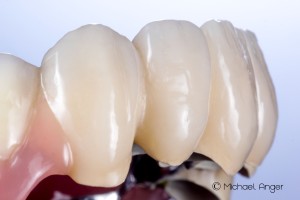
Detailed view of the completion after the veneering.
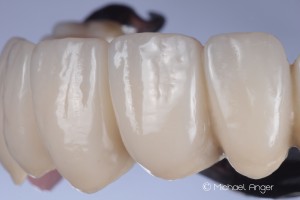
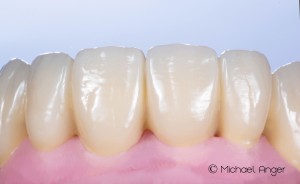
The finished veneers of vestibular.
The finished model casting in the Palatal view with bite-stops in metal.
The finished prosthesis slides from the first landing down to adjust gently sliding without tilting.
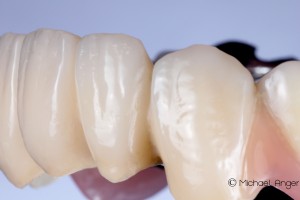
View details of composite veneers view from the left macro.
View details of composite veneers frontal.
View details of composite veneers left side view on the model.
View details of composite veneers view from the left.
View details of composite veneers view from the right.
Because the size of the posterior teeth veneers was not reasonable, these were replaced after the completion of Paul Giezendanner again.
Unfortunately I have no pictures of the modified work available.
I hope you enjoyed this report.
http://www.ma-fraeszentrum.de/
Michael Anger & Paul Giezendanner
 Your independent e-learning & support platform!

